
Our Free Image Editor
Add Text to Image: Titles, Labels, and Price Notes
Adding text to an image is usually not about making a complex poster. It is about making an existing image easier to understand: a price on a product photo, a step label on a tutorial screenshot, a short cover title, or a date and place on a photo.
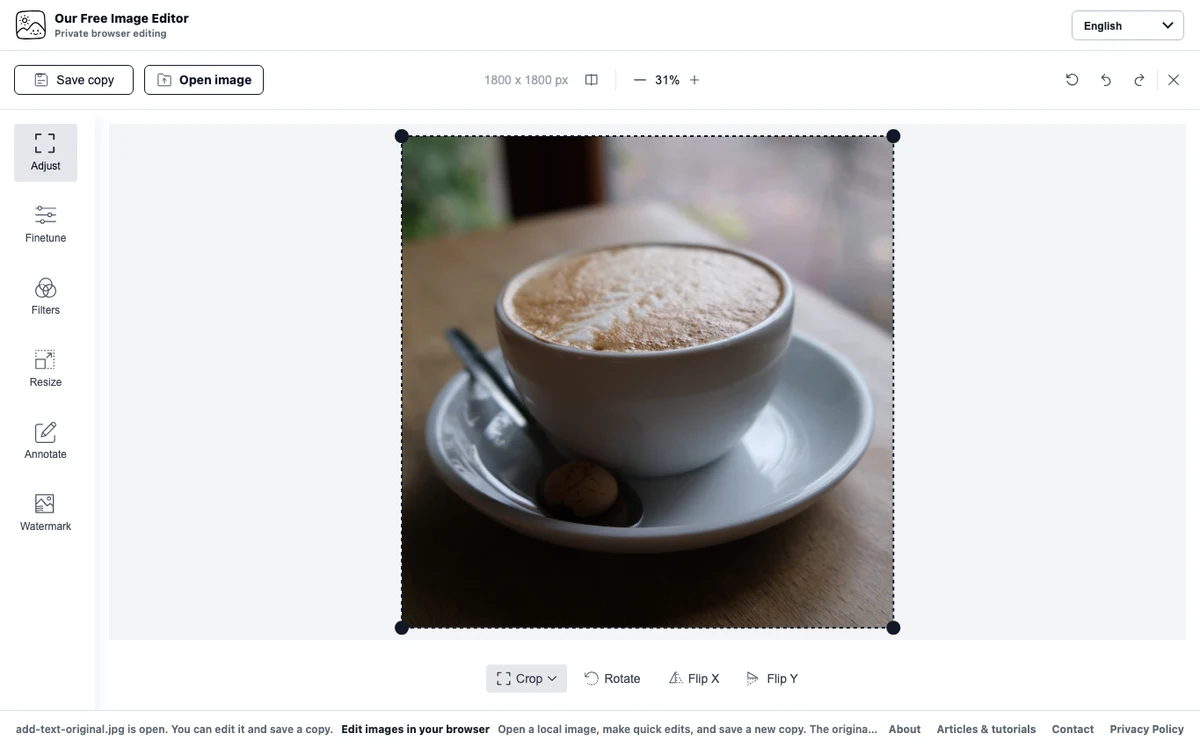
This guide focuses on one practical flow: open the image, decide what the text needs to do, set placement, size, and contrast, then save a clean copy. The example uses a real coffee photo captured inside this site’s editor.
1. Decide the job of the text
A title, label, price note, status tag, and step note should not all be written the same way. A title summarizes the whole image, a label explains one detail, a price or status helps someone decide quickly, and a step note tells the reader where they are in a process.
Choose the job before writing the text. That keeps the wording shorter and prevents the image from turning into a paragraph with a photo behind it.
2. Write a short line, not a paragraph
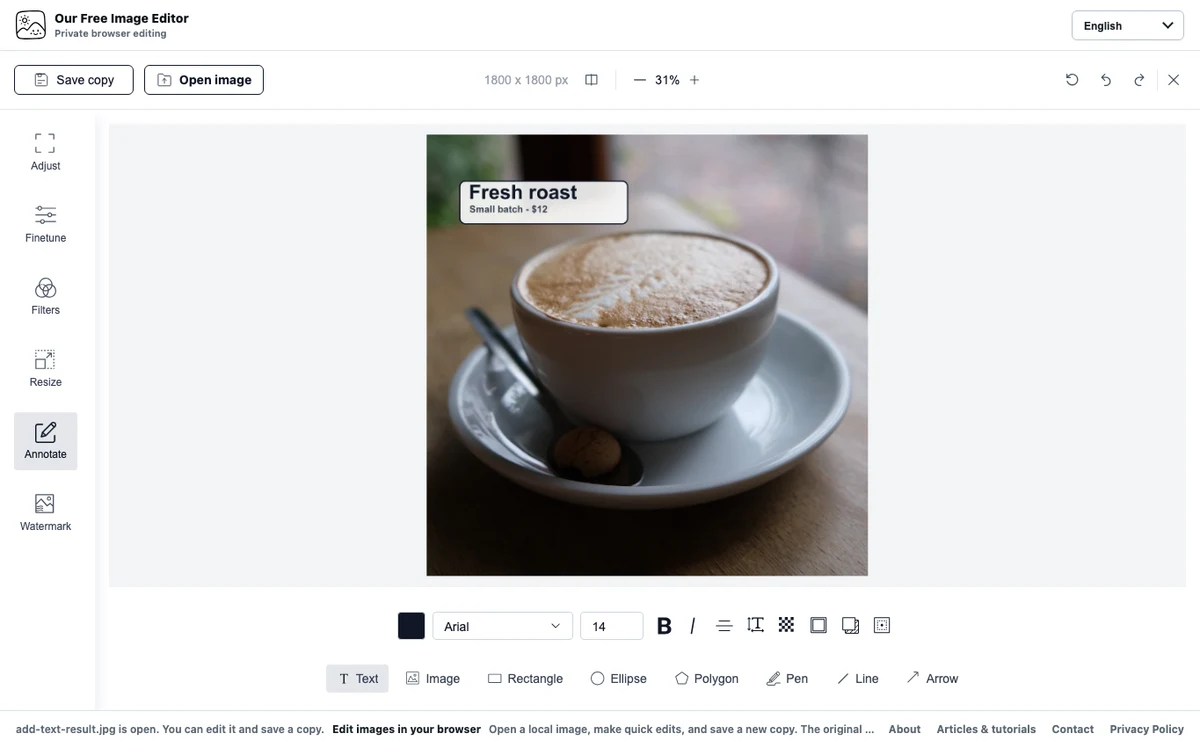
Image text should work like a signpost, not body copy. Short notes such as Fresh roast, Step 1, New arrival, or $12 hold up well. If the sentence cannot be shortened, it probably belongs outside the image.
Short text is also easier to read on phones, thumbnails, chat previews, and article cards. A long sentence may look acceptable on the editor canvas and still become a gray stripe when reduced.
3. Place first, size second
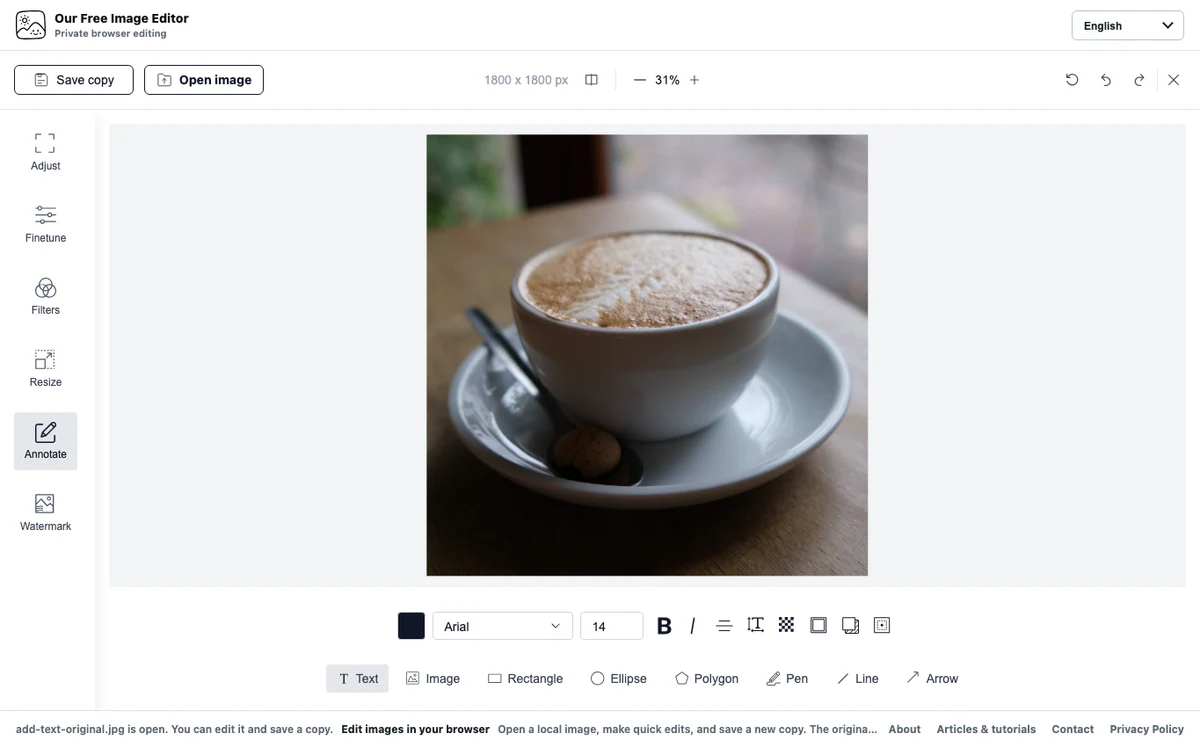
Do not default to the center of the image. Look for a calm area first: a table, wall, sky, background edge, or open space near the subject. Then set the text size.
Text placed too close to the subject competes for attention. Text placed too close to the edge can be cropped by previews. Leave a practical margin from both the subject and the image edge.
4. Use contrast for readability
If the text is hard to read, adjust contrast before simply making it larger. Use dark text on light backgrounds and light text on dark backgrounds. On a busy background, a subtle text box is often the cleaner fix.
Before saving, preview the image smaller. If the line is still readable when reduced, it will be more reliable in real use.
5. Check the final use case
The same image can be used in a product grid, article cover, tutorial step, or chat window, and each one may display at a different size. Before saving, preview the image near its final size and check that the text is not cropped or hiding important detail.
If the image will be reused, keep one clean original without text. It is easier to change the language, price, date, campaign, or crop later when you start from a clean file.
6. When not to put text inside the image
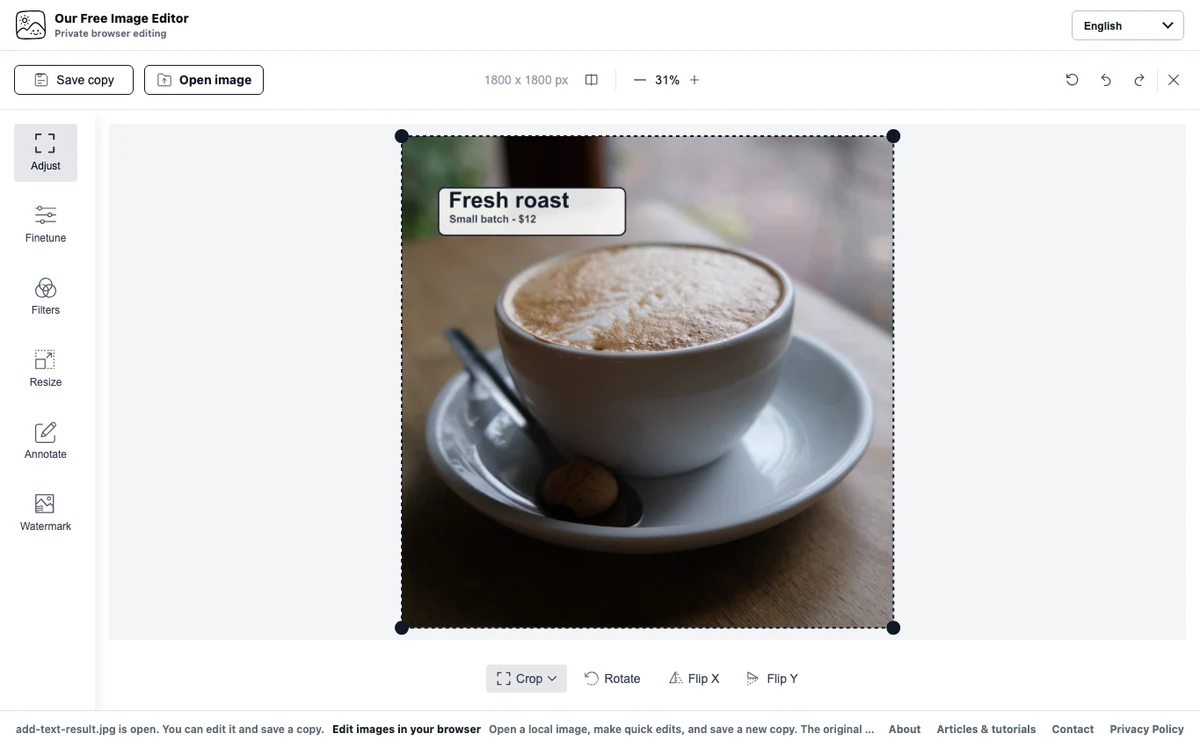
If the text needs to be read by search engines or updated often, do not put it only inside the image. Image text is useful as a visual cue, but important titles, descriptions, prices, and steps should also appear as real page text.
That makes the content easier to update and keeps the information available when the image loads slowly, gets compressed, or is read with assistive technology.